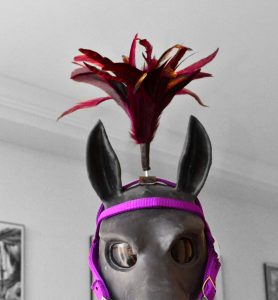
 For this build we decided to use a Kydex® base, but this can be adapted to any material that provides a sturdy base with enough surface area. The important feature is that the sturdy base can conform to the curvature of the pony’s head or mask. Kydex® is a very forgiving thermoplastic commonly used for making firearms holsters.
If you’re not experienced with thermoplastics or Kydex®, you should probably look up some instructional videos and articles first. This how-to is assuming you know how to work with Kydex® at a basic level.
Parts
Base
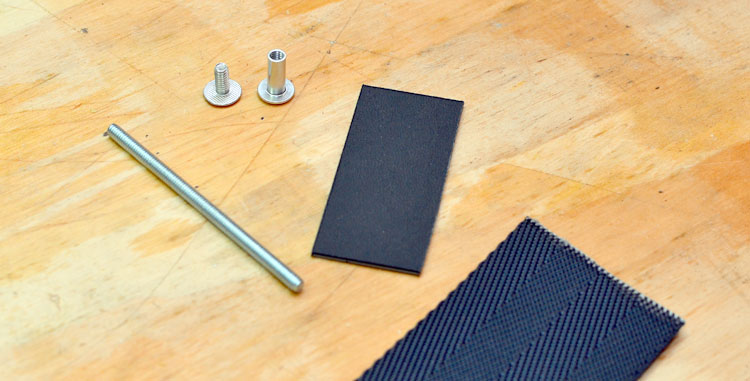
- At least 1″ x 2″ • .060″-thick Kydex® Sheet
Just cut enough to provide a sturdy base, fit the bridle strap, curve with the head, and leave room for eyelets at the corners. Available on Amazon. - Heat-resistant surface that approximates the curvature of the pony’s head.
- Nylon strapping slightly longer than the Kydex® base.
Available at most fabric or craft stores. - 4 • 8-8 1/4″ Eyelets (with fastening mechanism of choice)
We got the eyelets and the die set from KnifeKits.com. - 1 • Thick nail to punch eyelet-holes
- 1 • 1/2-inch Chicago Screw, or Binding Post, or Sex Bolt
(No, I’m not joking, they really call it a Sex Bolt.) Only the female half is required. Available at Home Depot or other hardware stores as a Binding Post. - Heat gun or toaster oven to shape Kydex®
- Drill and drill bits for eyelet-holes and binding post
- Pliers to safely hold hot nail
- Sandpaper, grinding wheel, etc.
- Lighter or torch
Plume
- 1 • at least 3-inch threaded rod
Make sure the threaded rod fits into the female end of the Chicago Screw. For mine, the threading was 8-32. - 1 • Package of feathers
You can spend the money for the real ostrich plumes, but for my first build I went with 25 Chinchilla Rooster Coque Tails (Purple) I found on Amazon. - Heat shrink
How wide will depend on how thick your quills stack up, but most people with heat shrink already have an assortment anyway. - Electrical tape
- 1 rubber or metal washer, spacer, or grommet
This is to cover the quill tips at the base of the plume. Again, the width will depend on how thick yours becomes.
Instructions
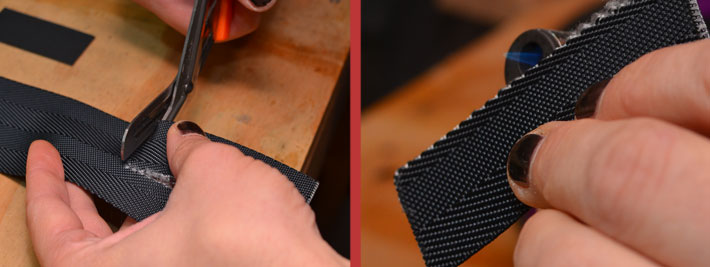
- Trim the nylon strapping to the same width and slightly (about an inch) longer length than the Kydex®. Be sure to cauterize the edges with the lighter so they don’t fray.
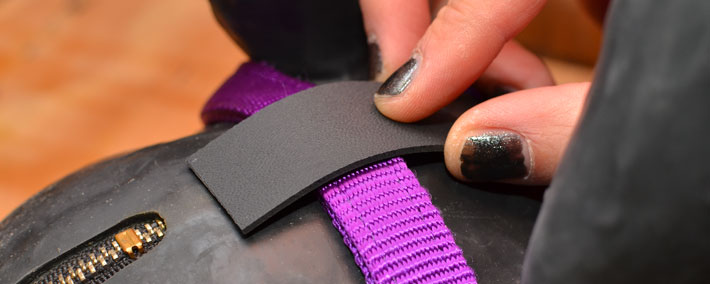
- Using your heat-resistant form, heat up and shape the Kydex® strip until it curves to match the slope of the pony’s head. Let it cool before touching!

- Make sure there’s enough curve to follow the pony’s head over the bridle this base will be attached to.
- Drill holes for the eyelets in the four corners of the Kydex®
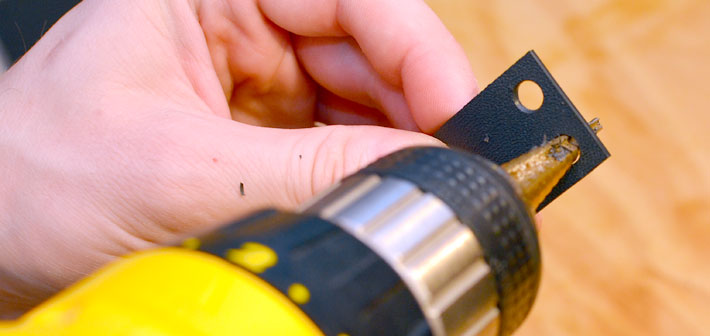
- Drill a hole for the female half of the binding post right in the center of the Kydex®

- Sand off all exterior edges to avoid damage to the head/mask.

- Line up the Kydex® and strapping and mark the first two eyelet-holes on the strapping (using a marker or punch, for example).
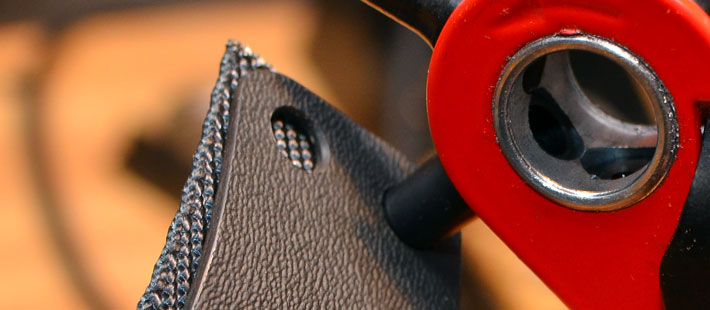
- Hold the nail by the head with the pliers and heat the tip with your lighter. Use the nail to melt holes in the nylon strapping where you’ve marked.

- Fasten the strapping under the Kydex® with the first two eyelets.

- Put the binding post (female half) through the center hole and fit the base around your bridle with the nylon underneath and the Kydex® and binding post on top. Pull the nylon so it fits as tightly as possible around the bridle and mark the holes through the Kydex®
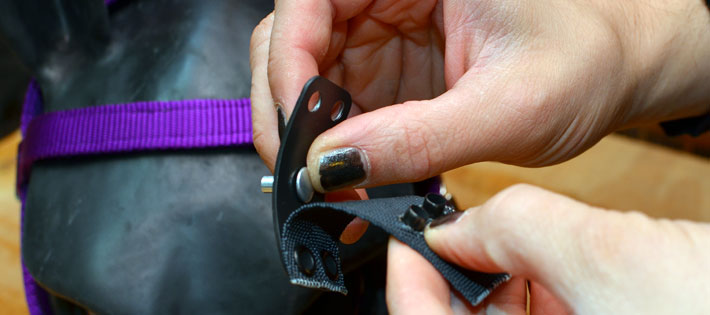
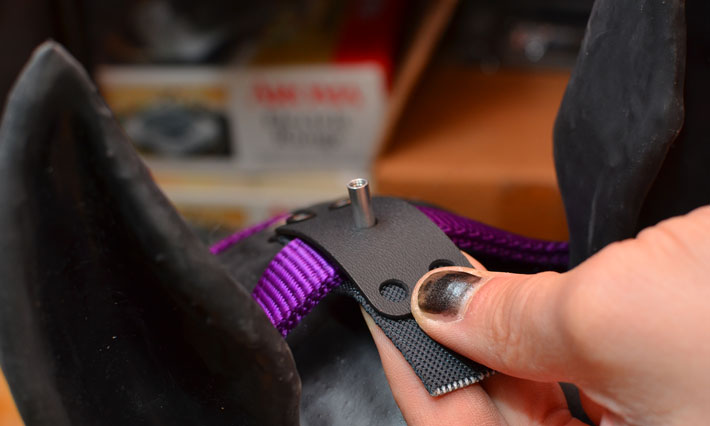
- Just like Step 8, heat up the nail and melt the holes for the two remaining eyelets.
- Before fastening the last two eyelets, insert them through the holes in both the nylon and the Kydex®. Trim the remaining strapping to match the Kydex®, then separate them again. Cauterize the edges of the strapping with the lighter.

- Just like Step 9, set the remaining two eyelets.
- Slide the Plume Base onto your bridle’s crownpiece.
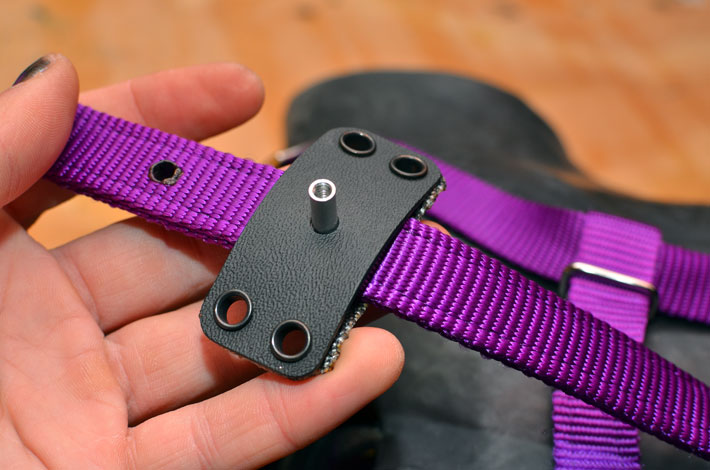
- The threaded rod should fit upright and stable in the base. If the rod wobbles but the base is stable, you may need to use an adhesive to keep the binding post affixed to the Kydex®
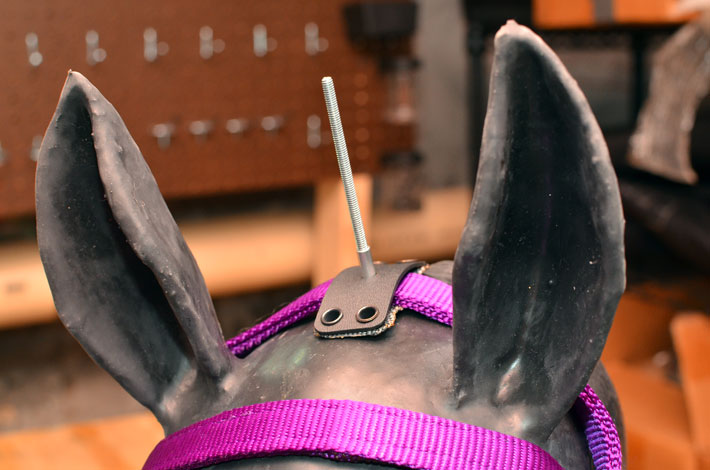
- Now for the plume itself! Start by rounding off the end of the threaded rod. You can use a file, bench grinder, or rotary tool.

- Lay out your feathers from smallest to largest and keep each pointing the same direction if possible. I also separated mine into “fluffy” and “flat” since there was some variation in the package.
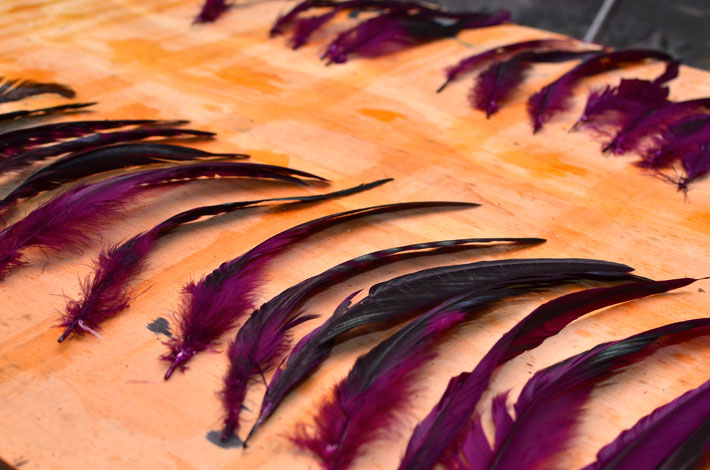
- Gather enough of your shortest feathers for the top layer, just enough to wrap sufficiently around the rod (I used seven).
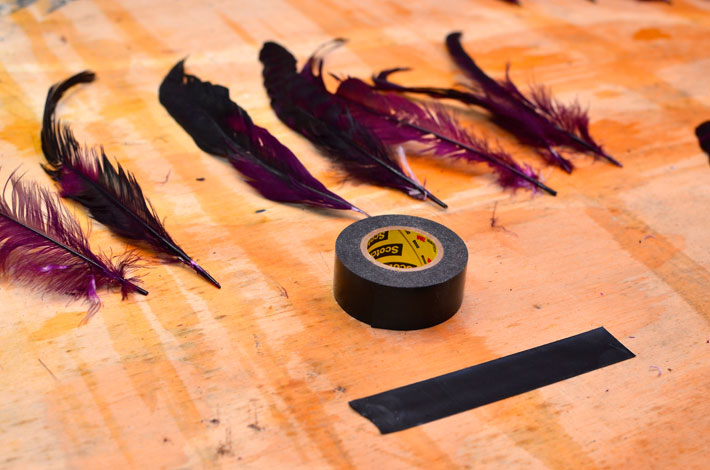
- Line the feathers up on a strip of electrical tape about 4-5 inches long. Keep a good inch free on either end so the tape can adhere to the rod and itself. Also try to keep the feathers pointing in the same direction, arcing towards the table when possible. This will keep them looking relatively uniform.
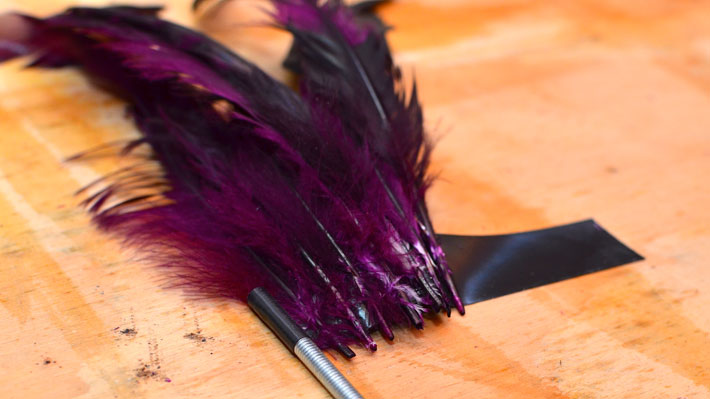
- Roll the rounded tip of the rod along the tape, wrapping it up with the feathers. Try to keep it as tight as possible. The last inch of tape should keep this first layer securely attached.
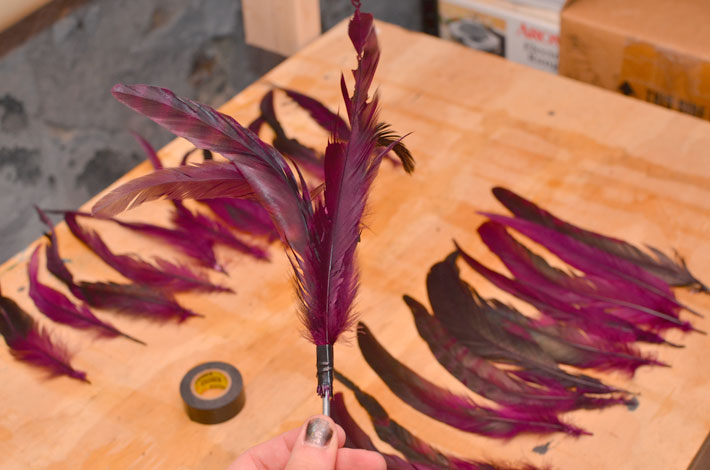
- Repeat with layer after layer, working your way down the threaded rod using progressively taller and prettier feathers.
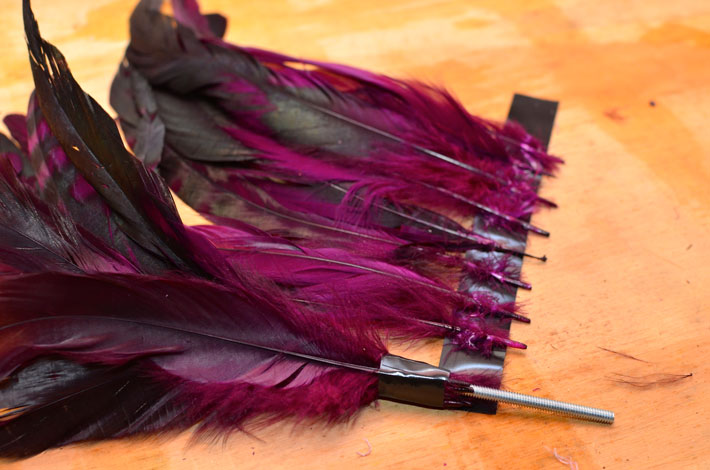
- Once all the feathers are attached with tape, it should start to look like a proper plume. It may be a bit broader than tall, but we can fix that with heat shrink.
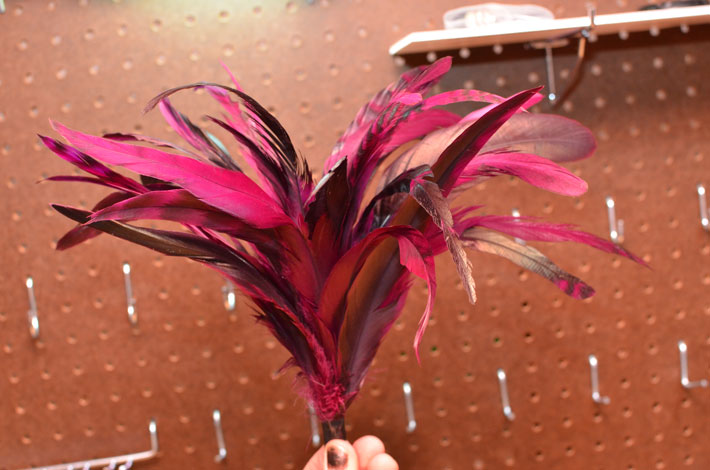
- Trim away the excess quill bits with a knife or some snips. You’ll need to leave enough of the post exposed to properly anchor the plume plus the thickness of the washer or grommet you’ll be adding next.
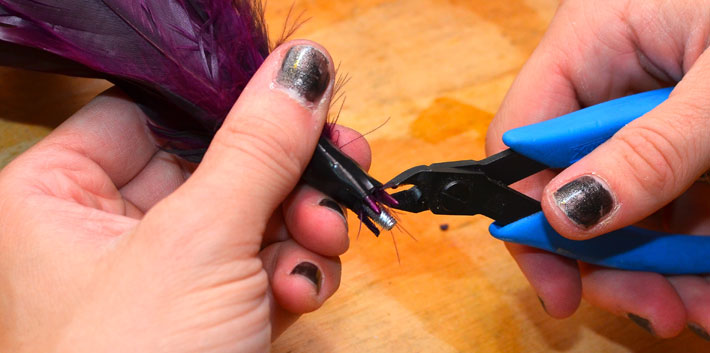
- Find a width of heat shrink that will wrap around the plume and cover enough of the feather base to force the plume as vertical as you can. Trim the length to allow for the washer to be inserted with a little excess to spare.
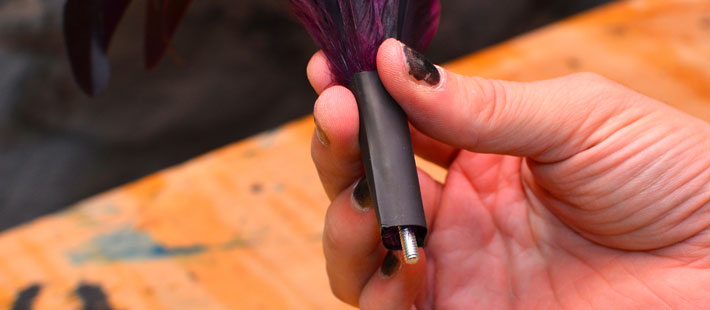
- Add the washer or grommet and tuck it into the heat shrink as snugly against the feather base as you can.
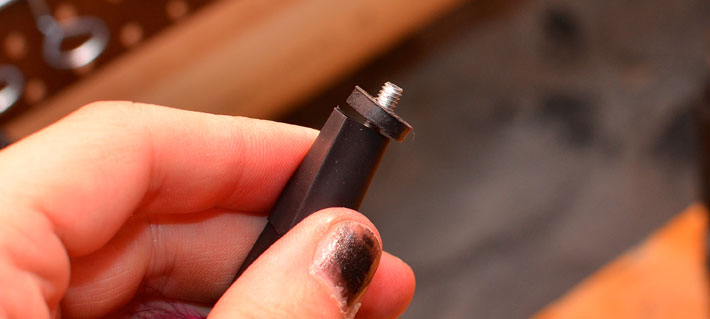
- Using your heat gun or a hot halogen lamp, shrink the heat shrink around the quills and washer so it forms a solid base.
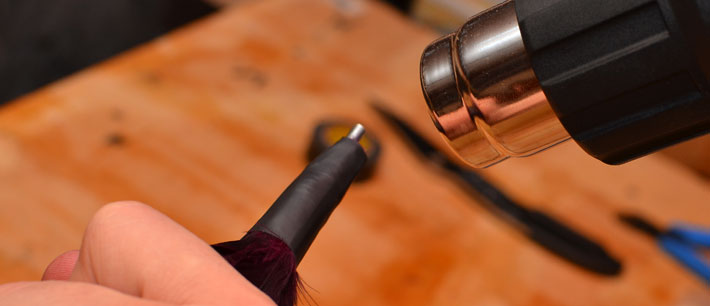
- Once it cools, you should have a sturdy, solid plume that’s ready to thread onto the base.
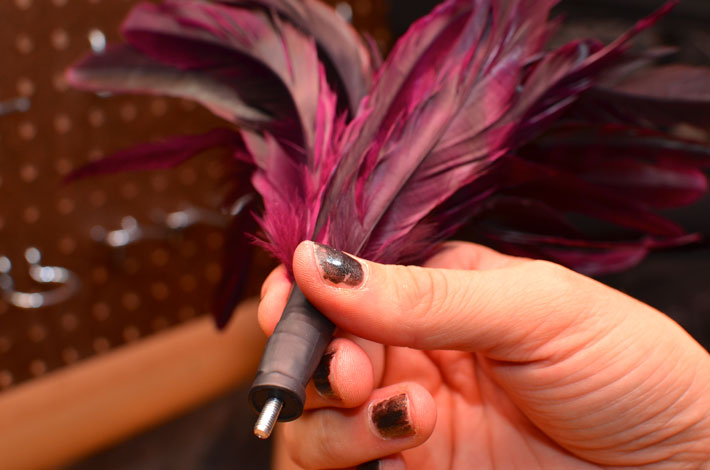
- Go show your pretty pony to the world!

4 comments for “Build a Bridle Plume (Kydex Base)”